


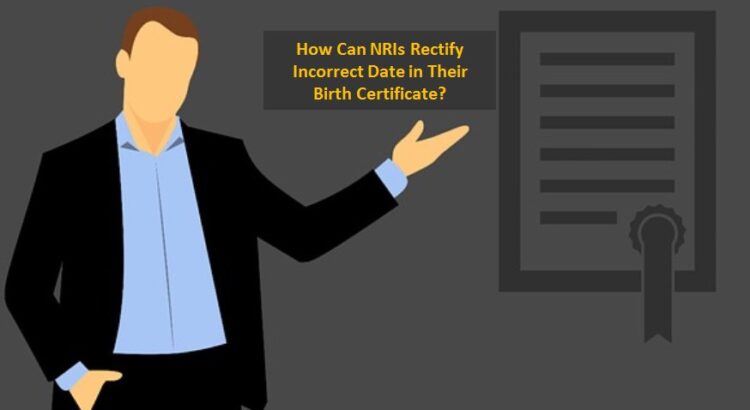
The internet is flooded with the suggestions on how to change the date on your birth certificate. I was, also, looking for the same solution. Undoubtedly, forums and websites have certain defined steps. But, when it comes to viability, they seem not-so-concrete. The discrepancies are laid somewhere in the steps. I wanted the NRI solution regarding the birth proof. This want pushed me to keep exploring over and over on the web because my cousin was unable to apply for the study visa due to that error.
Read MoreMonth: November 2018
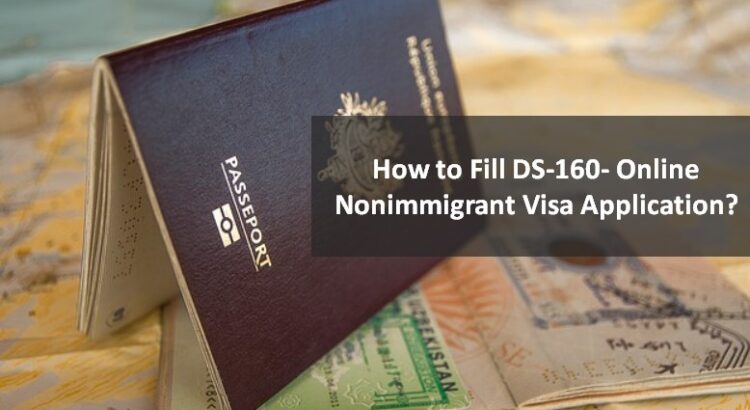
How to Fill DS-160- Online Nonimmigrant Visa Application?
Are you really intended to visit the USA?
Do you think that getting visa to go there is an uphill climb?
It won’t be that much tougher, today. You don’t have to fill an array of forms, including DS-156, DS-156K, DS-156V, DS-157, DS-158 and DS-3032.
Read More
Attestation of These Documents Is Must for NRI
Sometimes, one really gets confused over which document he should attest with the competent authority. This confusion can end up in delaying the visa processing. So, you must have a checklist of those documents prior.
Read More
What to Do If NRIs PCC Verification Failed?
If you’re willing to work or study abroad, your documentation work should be done completely. In order to avoid any friction, you should have a checklist of all papers that are necessary to immigrate. That checklist includes a birth certificate, school certificates, an asset evaluation report, a visa, a passport, an employment letter (if any), an admission letter (if any) and many more. They all should be attested and counter-attested also by the requisite competent authorities (including a magistrate/ the state government/ the MEA/ the Embassy).
Read More