


A visa application is a three-step process in India. You just apply online, filling the Indian visa application form securely; submit documents and collect visa from the visa application center.
Read MoreMonth: June 2019
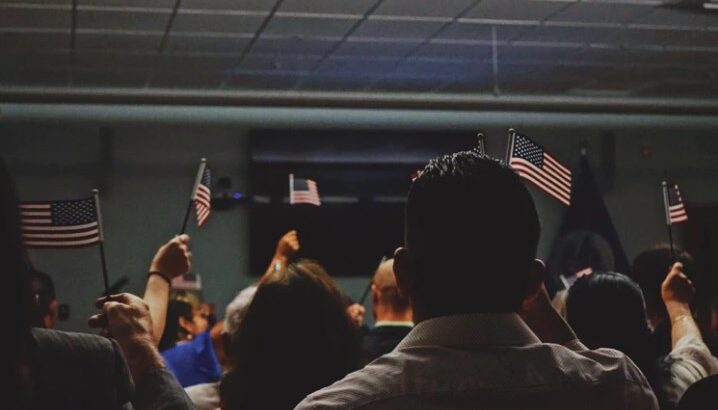
L-1 Visa: Types, Requirement, Duration & Green Card Eligibility
Appointment with the US-based company may be your dream. You would walk in the air if your dream comes true. But, there are certain immigration formalities that you should be aware of. Every country prefers natives over foreigners first when it comes to appointing on a designation.
Read More
DASA Rules for NRIs to Take Admission in Engineering & Tech in India
DASA stands for Direct Admission of Students Abroad. Its central body governed by the Ministry of Human Resource Development in India. It basically takes care of implementations in the Central Engineering Institutes (other than IITs). This agency basically facilitates the rights of the Foreign Nationals (FNs), studying in any foreign country. These foreign students can be regarded as any of these: